
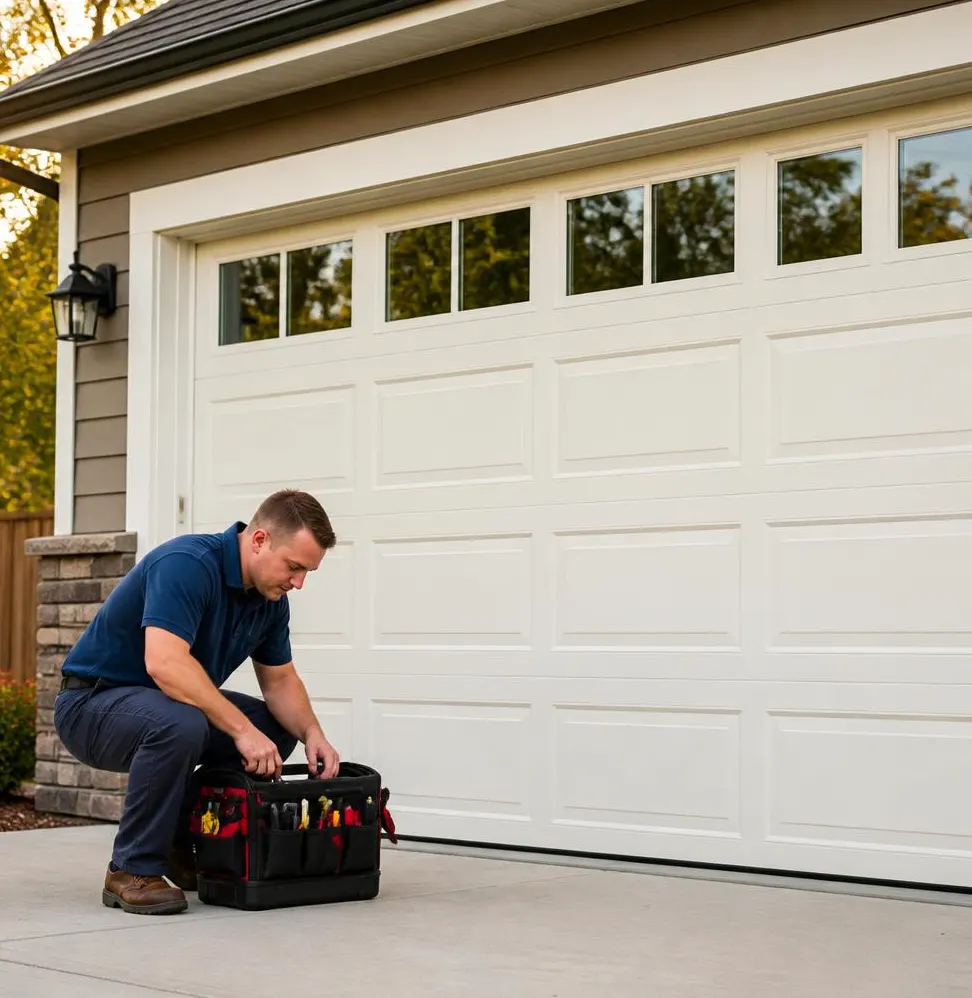
Why a Worn-Out Seal Costs You More Than You Think
Skip this job one more season and here's what you're signing up for: cold air pouring under the door every time the wind picks up, meltwater from snow piles seeping onto the garage floor and refreezing into an ice patch, mice and roaches finding the gap under the panel, and a fine layer of dust and grit settling over everything you store in there. In a house with the original garage door, the rubber bottom seal has likely hardened, cracked, or pulled away from the track after years of freeze-thaw cycles. Rubber that was flexible in July turns brittle and splits the first time temperatures swing from a 40-degree afternoon to a 20-degree night. Add a nor'easter driving rain sideways against the door, and a bad seal turns into standing water against your foundation wall. None of this requires a major repair bill — a seal and some weatherstripping usually cost under $30 in materials — but ignoring it through another winter means higher heating costs, a damp garage, and an open invitation for pests looking for shelter.
What You'll Need
- Replacement bottom seal (bead-style or T-style, matched to your door's track — bring the old piece or a photo when you buy)
- Weatherstripping for the sides and top of the door frame (foam or vinyl, sold by the foot)
- Utility knife
- Tape measure
- Rubber mallet or a block of wood and a regular hammer
- Dish soap and water (as a lubricant, not a cleaner here)
- Stiff brush or shop vac
- Screwdriver (for retainer strips on some weatherstripping styles)
Step-by-Step: Replacing the Bottom Seal and Weatherstripping
- Inspect what you've got. Open the door partway and look closely at the bottom seal. Cracking, flattening, gaps where it's pulled away from the panel, or chunks missing all mean it's time to replace it, not patch it.
- Measure the door's width so you buy the right length, and check the retainer channel shape — most doors use either a bead-style groove or a T-slot, and the replacement seal has to match.
- Close the door fully and disconnect the opener (pull the release cord) so nothing tries to cycle while you're working at the bottom edge.
- Pull the old seal out of the track. It usually slides out lengthwise; if it's brittle, it may come out in pieces, which is fine.
- Clean the channel with a stiff brush or shop vac to clear out old rubber crumbs, dirt, and dead insects before installing anything new.
- Feed the new seal into the track. A little dish soap and water on the seal's edge makes it slide in far easier than trying to force it dry. Work it in from one end to the other.
- Trim the ends with a utility knife so the seal sits flush with the edges of the door — don't leave excess hanging past the frame where it can catch or tear.
- Replace the side and top weatherstripping the same way: pull off the old strip, clean the frame surface, and press or nail in the new piece depending on the style you bought. Check it by closing the door and looking for daylight around the edges from inside the garage.
What a Homeowner Can Handle
Everything above is a reasonable weekend project if your door closes flat and sits square in its frame. Bottom seal and perimeter weatherstripping replacement doesn't involve springs, cables, or anything under tension, which makes it one of the few garage door jobs where a basic toolkit and an hour of your time get the job done safely.
When to Call a Technician Instead
If the new seal won't sit flush no matter how you adjust it, the problem usually isn't the seal — it's the door. Warped panels, a track that's pulled slightly out of alignment, or a door that's settled unevenly on an older frame will all cause gaps that weatherstripping alone can't fix. Likewise, if you notice the door is hard to lift by hand, makes a grinding noise, or the bottom edge looks uneven when it's resting on the floor, that points to spring tension or roller issues that shouldn't be handled as a DIY sideline alongside a seal swap.
When to Call Bayside Garage Door
If you've replaced the seal and still feel drafts, see daylight around the edges, or notice the door isn't sitting level on the floor, that's a sign of alignment or structural wear that a seal can't fix on its own. Our Garage Door Maintenance visits check the whole system — track alignment, roller condition, hinge wear, and panel fit — so the new seal you installed actually does its job instead of fighting a crooked door. If the panel itself is warped or cracked from years of freeze-thaw stress, our Garage Door Repair service can address that directly rather than papering over it with weatherstripping.
If your garage door is drafty, icy underneath, or just not sealing the way it should heading into winter, call Bayside Garage Door. We serve Bayside, Flushing, Whitestone, Douglaston, Little Neck, Fresh Meadows, Oakland Gardens, and College Point, and we'll give you a straight answer on whether it's a quick fix or something more.